The Text Editor
The Text Editor is what you’ll use whenever you write or edit a post or page, so it serves as the most important way you’ll create and manage content in your Wordpress website.
Enable additional editing options
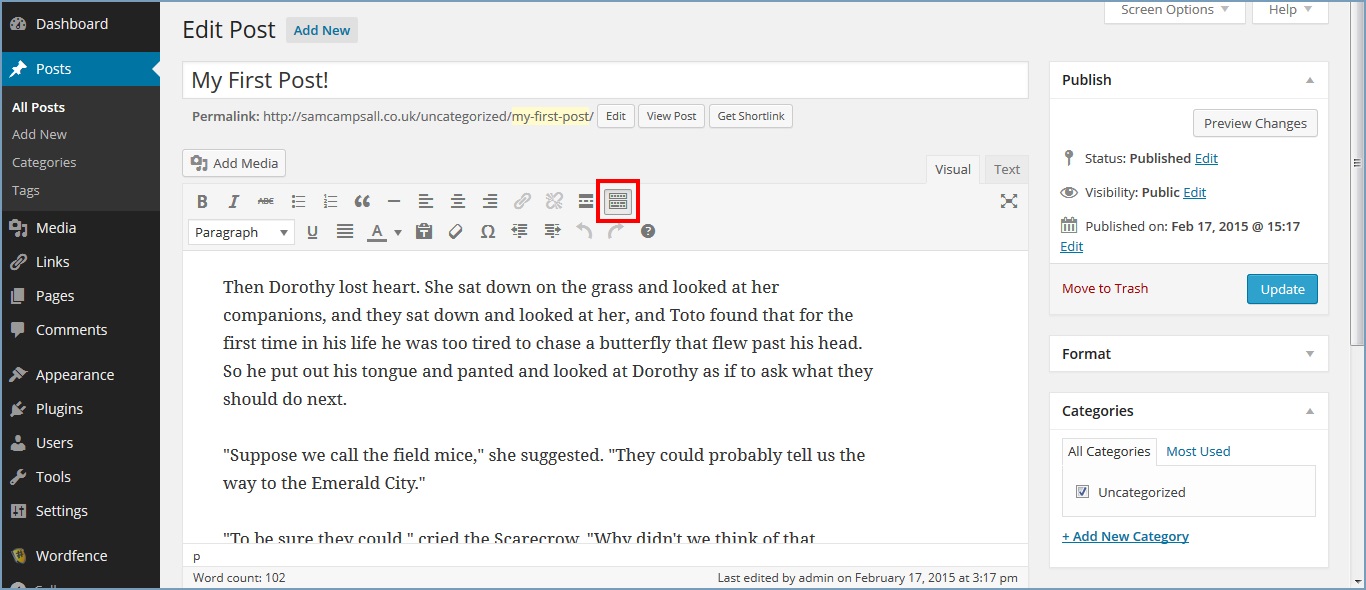
When first viewing the Text Editor some of the editing tools will be hidden. Use the Toggle Toolbar button to display the second row of tools
Basic formatting
As you might expect the Text Editor offers a number of basic functions that will be familiar to you if you use a normal desktop word processor
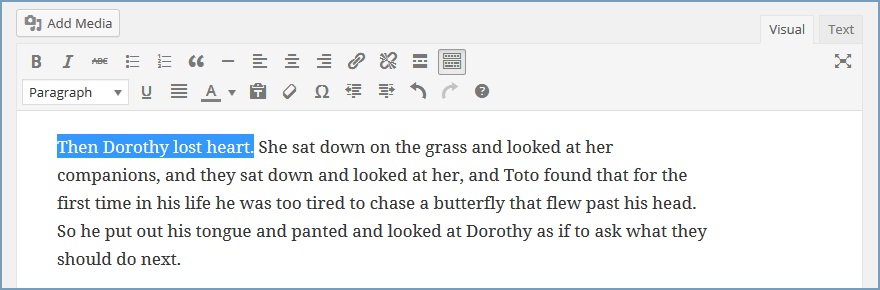
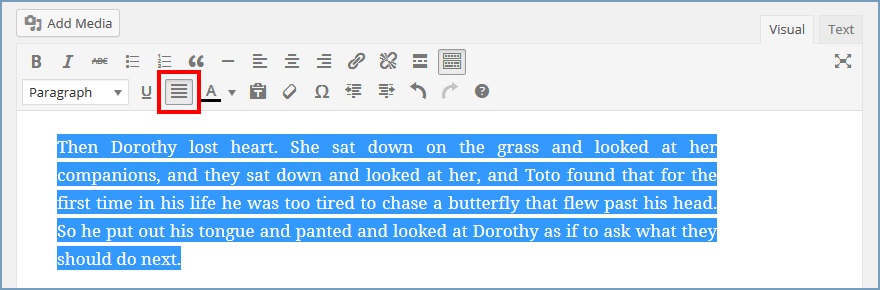
Similarly these can be applied by simply highlighting the text you wish to format (using your mouse or cursor) and selecting the desired tool
Bold text

Italic text

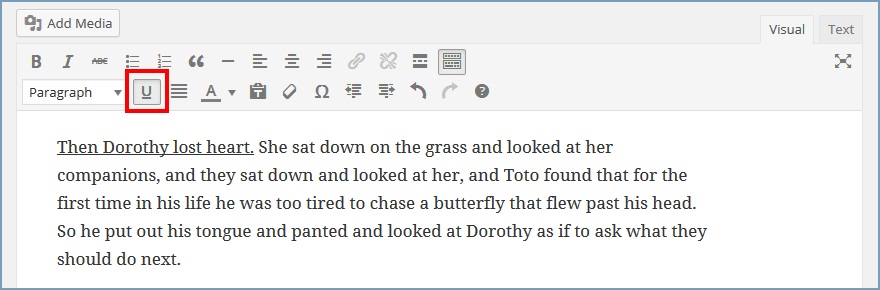
Underline text
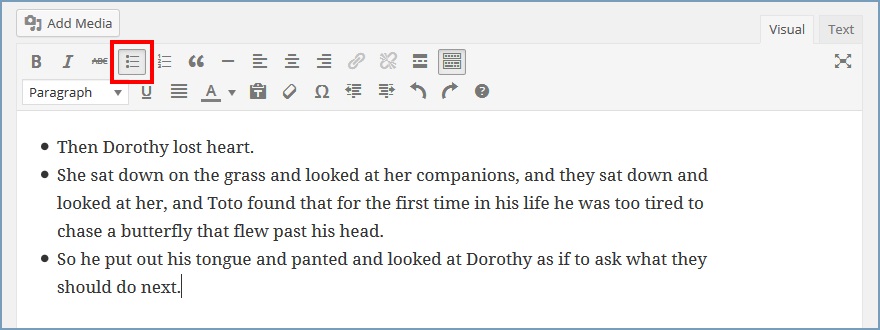
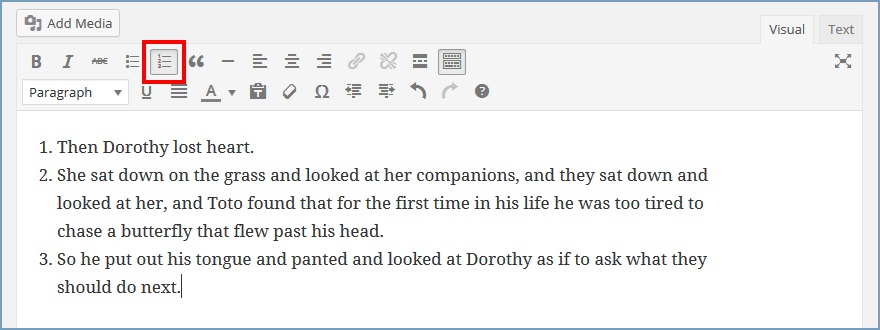
Bulleted list
Numbered list
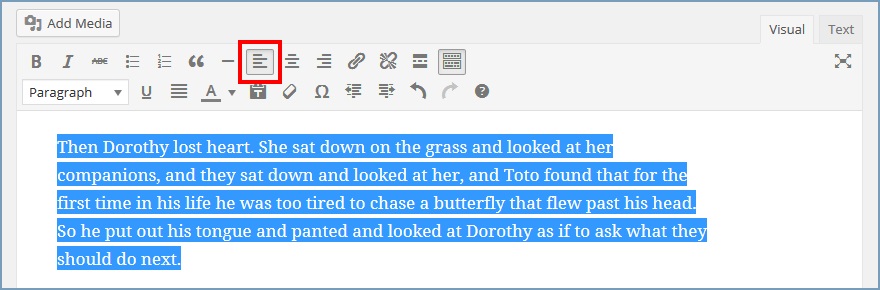
Left align
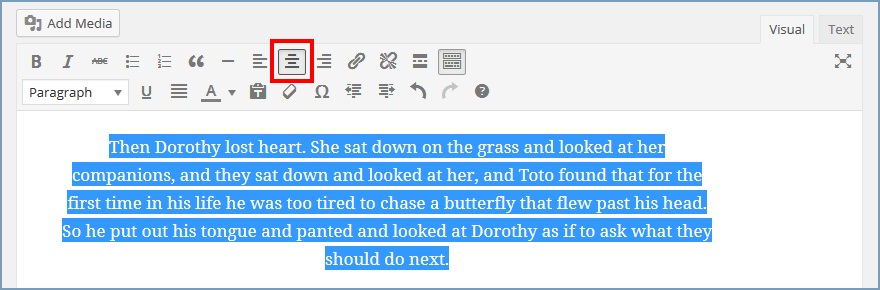
Centre align
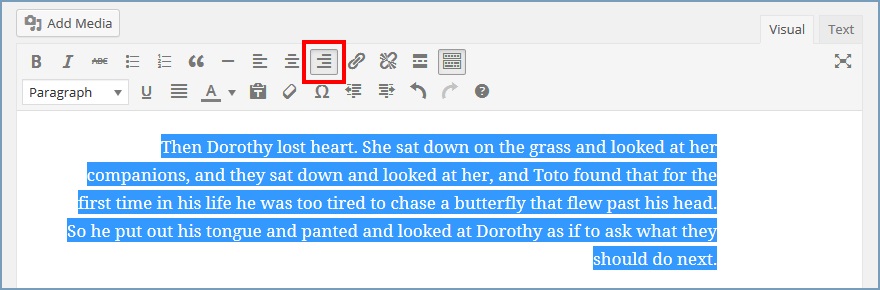
Right align
Justify text
Remove formatting
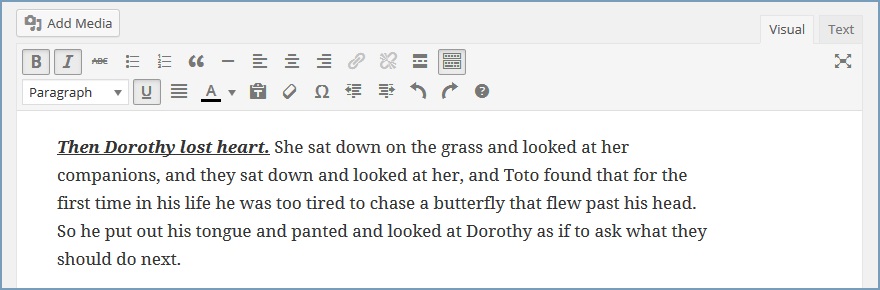
There is also a simple way to remove formatting from your text - in this case we have text with bold, italic and underline applied
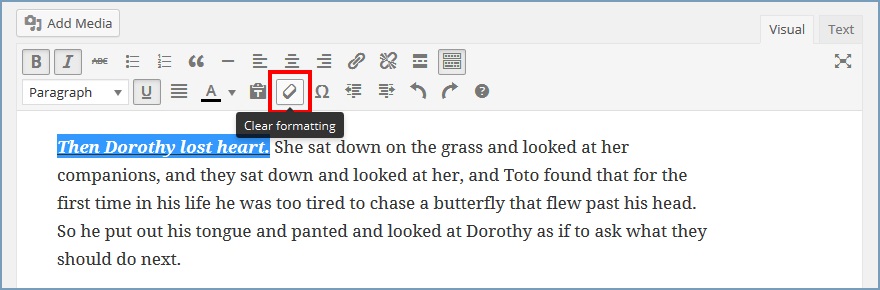
Simply highlight the text you wish to remove formatting from, as shown below, and hit the Clear formatting button
And all formatting will be removed

Using predefined styles
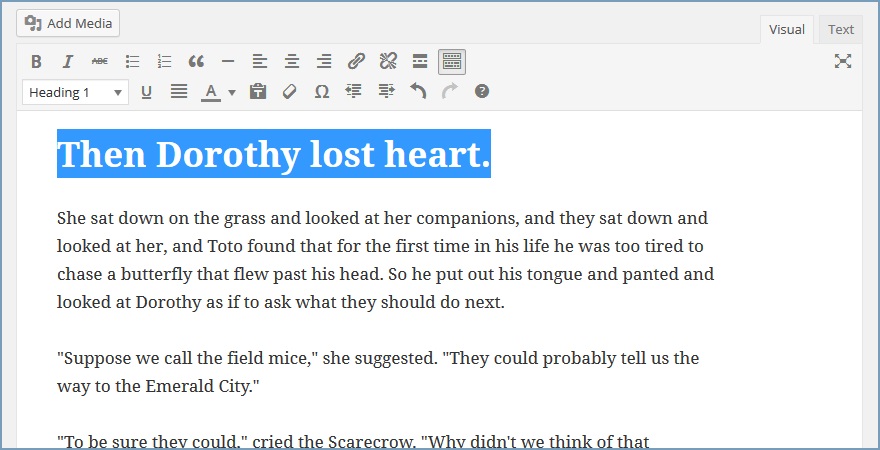
The Text Editor makes it simple to apply standard predefined styles to your text As before simply highlight with your mouse or cursor and select the desired style from the dropdown box

The style will be visibly applied to your selected text in the editor
Inserting a link
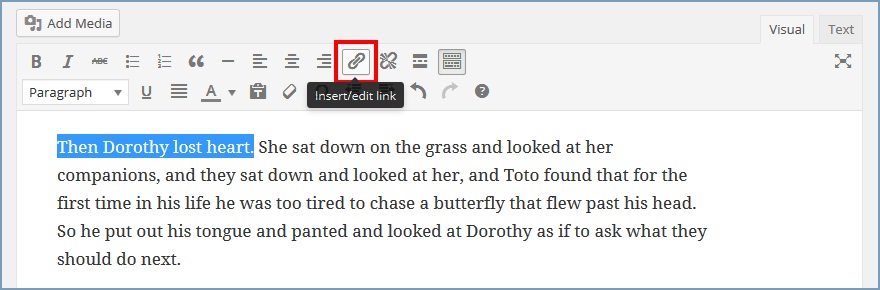
Highlight the text you wish to turn into a link and hit the Insert/edit link button
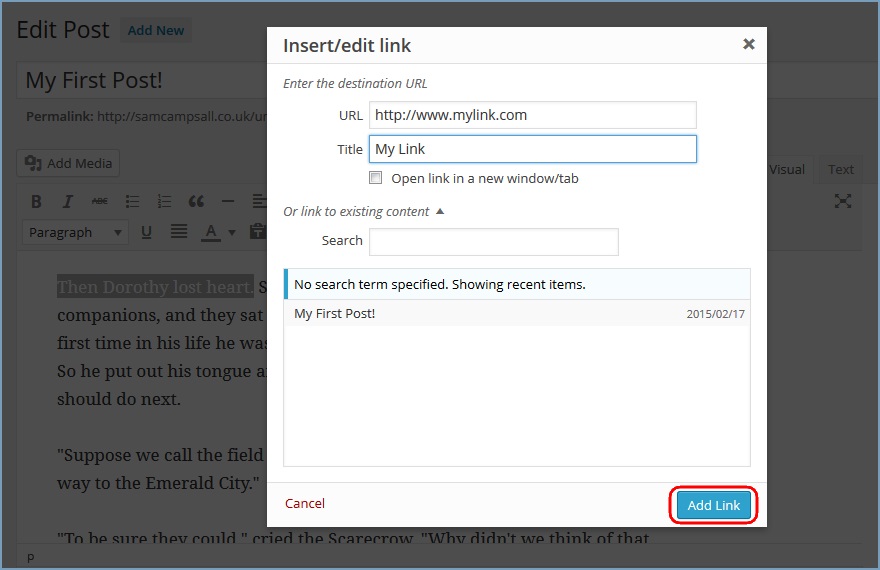
This will open the following dialogue box. Here you can enter the URL for your link e.g. www.google.com and a Title too and hit Add Link
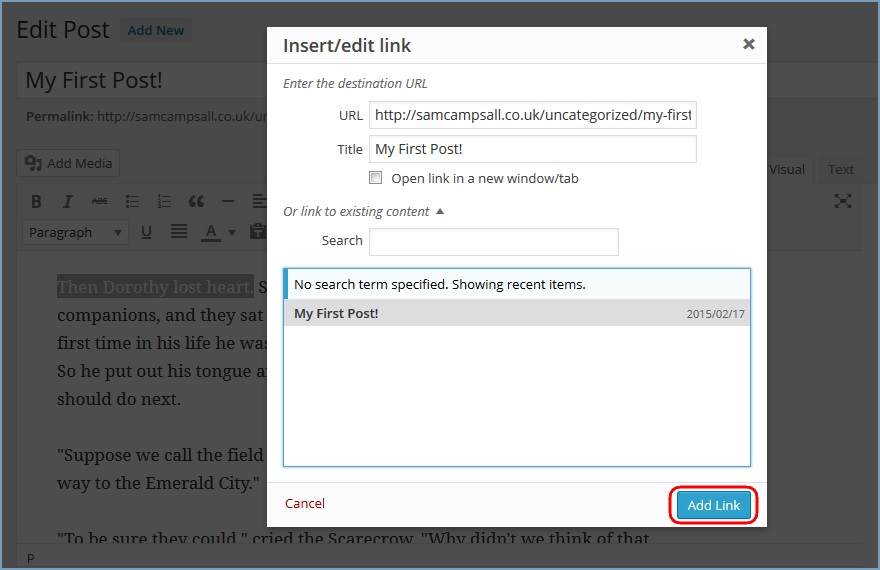
Alternatively, you can create a … link to existing content using the lower panel. This will allow you to search for another post or page on your site and use this as the target for your link. Once selected the values for URL and Title will automatically be filled in for you. Hit Add Link to save these settings
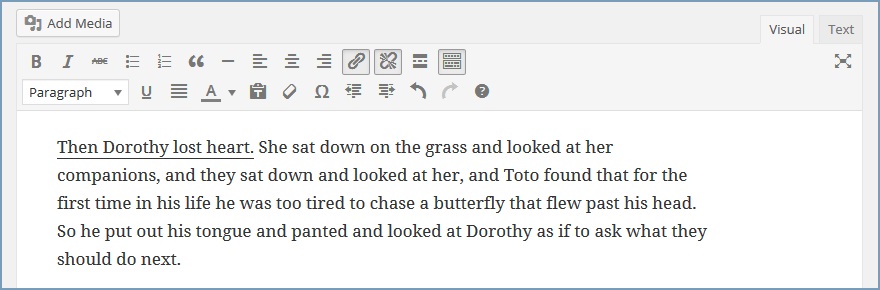
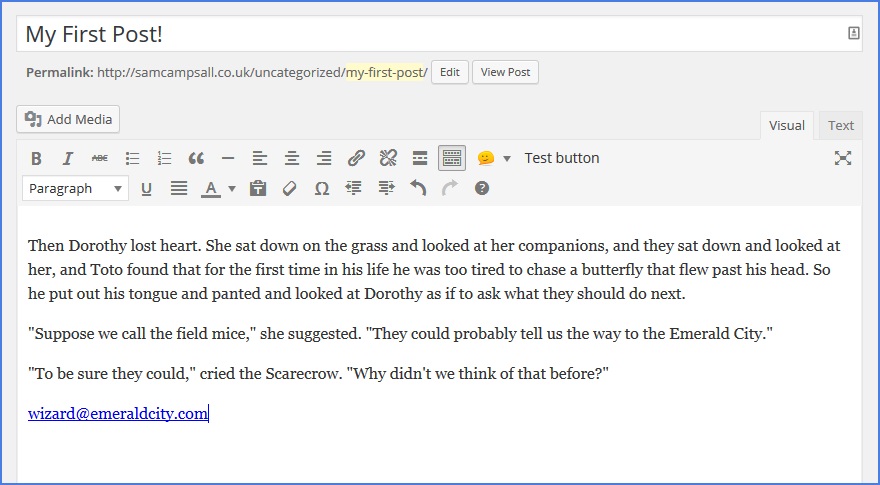
Your new link is indicated in the Text Editor pane by the underlining of your selected text that forms the link
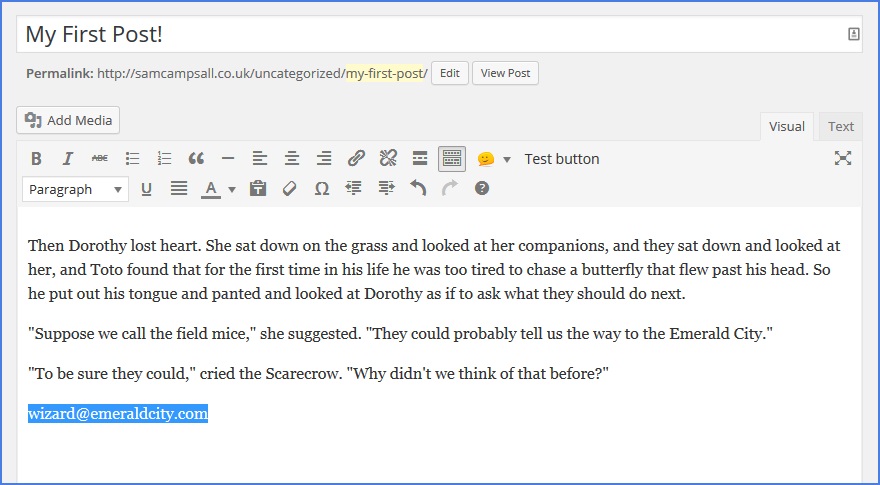
Inserting an email address
To embed a clickable email address, highlight the text in the same way as above and hit Add Link
To enable the email link you need to add the ‘mailto:’ text before the email address. Wordpress is smart and will usually recognise that the highlighted text forms an email address, so will automatically add this in place for you
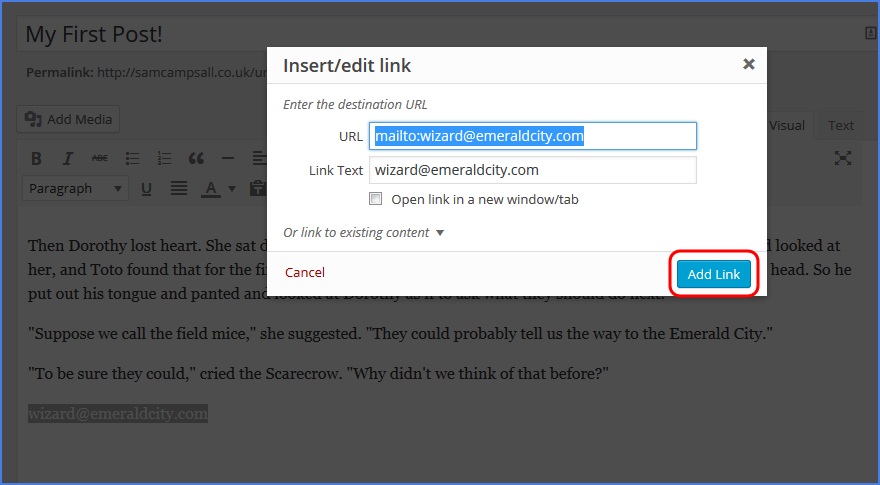
If Wordpress didn’t recognise your highlighted text as an email address then you can simply type in the ‘mailto:’ manually

Once this has been added - either automatically or manually - simply hit Add Link and you will be returned to the editor where your email link will be visible
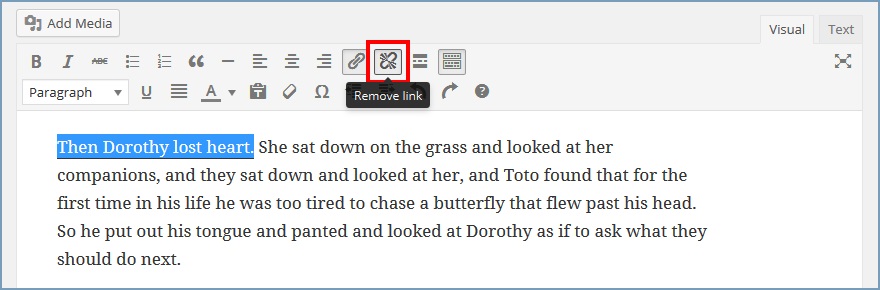
Removing a link
To remove your link simply re-highlight the text and hit the Remove link button
Creating an excerpt and ‘Read more’ link
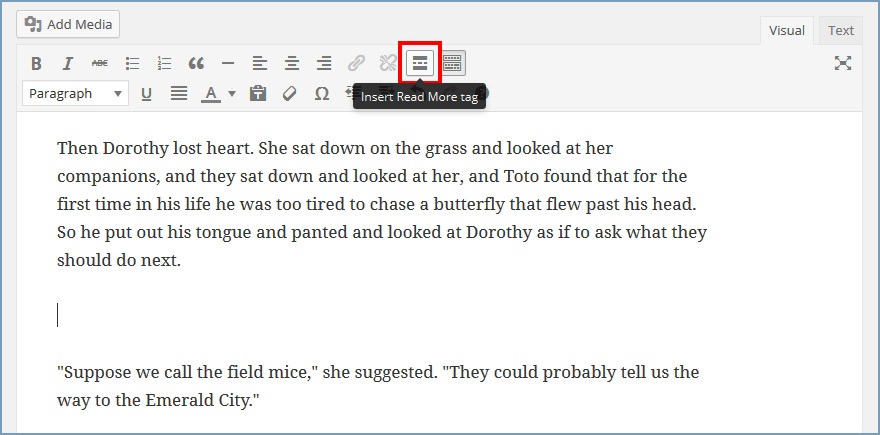
When writing a post for your blog you will usually want to show the introduction to your article in an excerpt on your main blog page with a link to read more. This is much more user friendly than having your main blog page displaying the entire contents of each of your posts. To do this, place your cursor beneath the text you wish to use as your excerpt and hit the Insert Read More tag button
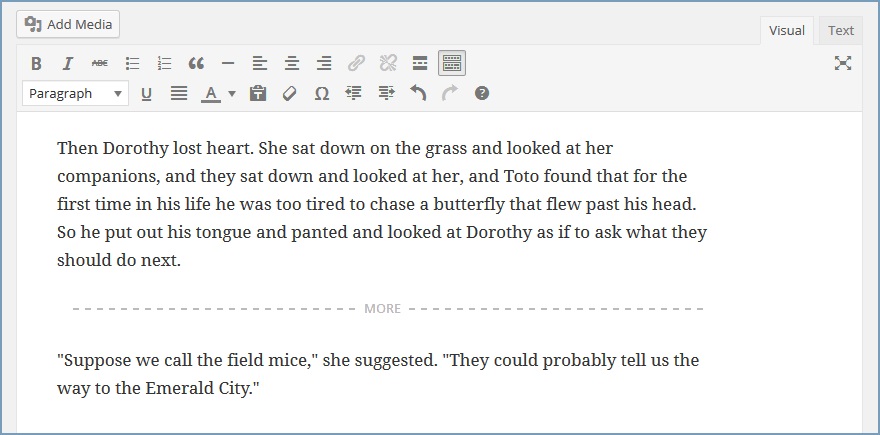
This will add the following dashed line into your text to indicate where the ‘Read more’ link will be shown
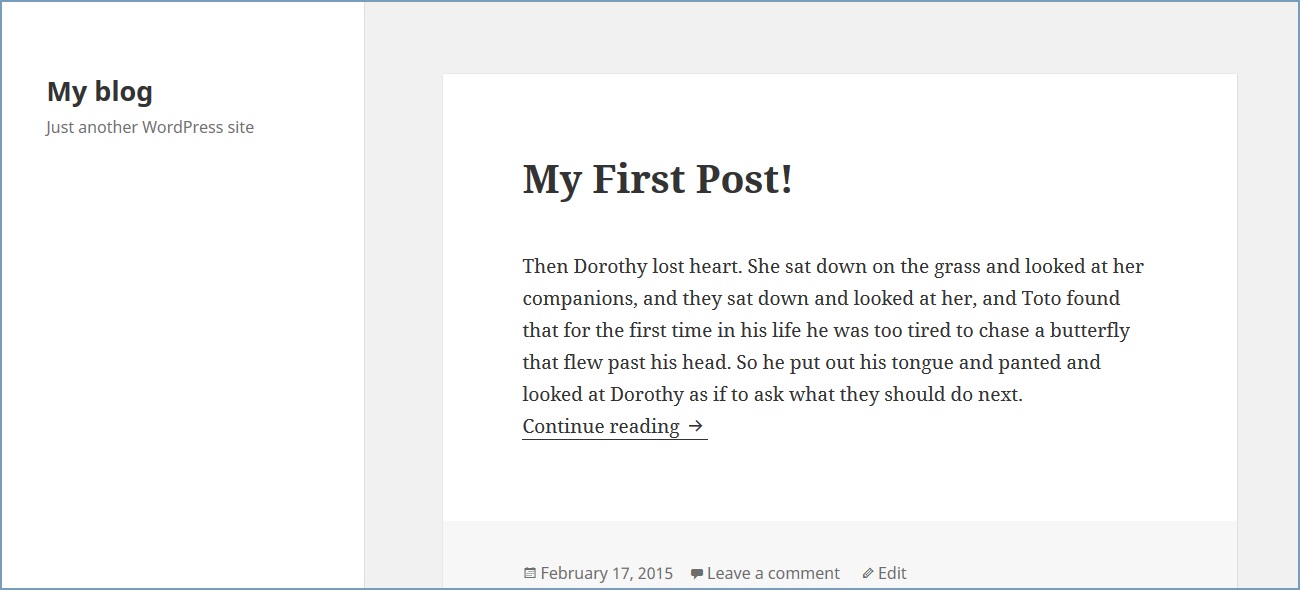
Here you can see how it appears in the main blog page. The first paragraph now forms the excerpt and there is a link to ‘Continue reading’ the rest of the post
HTML editing
For more advanced users the Text Editor provides the means to edit your content as plain text using HTML. Simply click the Text button in the top right of the editor pane to swap to the plain text editor.
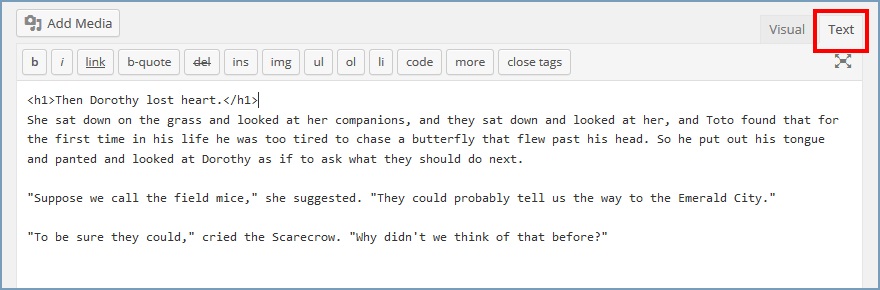
In this image you can see the <h1> tags used to format a heading, as created using the predefined styles described above. You will also note that the plain text editor provides buttons to implement basic formatting as described in this document using the visual editor.
If you wish to know more about creating and editing HTML then you can start with the W3 schools HTML tutorials found here:
http://www.w3schools.com/html/default.asp